Student-Driven Solutions: iPad Recording Booth
From Problem to Design Project
I was in one of the second grade team meetings when one of the teachers brought up a problem she was having with the iPads in her classroom:
We spend so much time and effort creating these awesome digital pieces on the iPad with our students, and the sound quality is often horrible!
One of our biggest problems was the background noise, especially when you can hear other students or teachers speaking in the background of the recording! In response to this this comment, another member of the team noted that this could be a perfect example of a real world problem that students could use the Engineering Design Process to design a solution for. So...the project was born!
Getting from Point A to Point B
The challenge was now designing the learning experience so that students would have the chance to openly design and test their prototypes, while also providing enough guidance so that the end products were actually something that could be used in the classroom for the rest of the school year! What we ended up doing was a series of three lessons where students designed their own recording booths/boxes using various recycled materials, and the fourth and final lesson they would practice nonstandard measurement to create a box that would be easy to store and use in their classroom.
Session 1: Sound and Solids
Before the students started building, we decided that they should first begin to learn about the nature sound and how it travels through solids. This way they could make decisions about which materials to use in their designs. We showed them this brief video and had them begin experimenting with the various materials that were in the classroom. What we wanted to hopefully emphasize was that harder solids tended to amplify sound whereas softer ones reduced sound. We didn't have enough clocks to go around like the video demonstrated, so we had partnerships test by tapping gently on a small whiteboard. The student listening had to make a comparison to the sound when their ear was against the solid and when it wasn't in order to decide whether the solid amplified the sound or not. In partnerships, students experimented with as many materials as they could and noted down observations. Once they were done they drew conclusions and started to draw out a plan:
[wpdm_package id='1585']
Because the problem was essentially two-fold, different groups had different opinions about what materials would work best. Some felt that the solids that amplified sound would work better because they were focused on making their own voices louder in a recording. On the other hand, other groups wanted to eliminate background noise, so they went with solids that reduced noise and sound. After creating a plan students began to build their first prototypes.
Session 2: Sound in the Air
To add another layer of understanding, this second session began with a second video by Bill Nye
As a whole class we discussed what we understood from the video and how this now affected our designs. To highlight the ideas from the video, I also showed how a ball (representing sound) bounced off of cardboard, and how it bounced off of a cushion. Some students concluded that they should be placing softer materials inside their boxes instead of outside, and others thought they needed to pad the box on both the outside and inside. Some still thought that having less materials inside would make their voices sound louder and therefore, better. Using Seesaw, students photographed and documented their initial designs:
Session 3: Testing and Improving
In the final design stage students tested their designs by creating an audio recording in Seesaw (through the drawing tool). In the same recording, they tested the sound quality of their voices when the iPad was outside and inside their recording booth. The whole class then gathered and gave each group a rating: 1=much better, 2=a little different, 3=no difference. Based on these ratings, the groups with the most improved sound quality shared their designs and the class made observations on similarities between the designs and why they thought these designs worked best. Based on this class discussion. Groups redesigned and improved their own recording booths.
I think that one thing I would do better next time is to provide some mentor texts for how to discuss thinking and explain designs in their recordings on Seesaw.
Session 4: Creating Recording Booths for Class
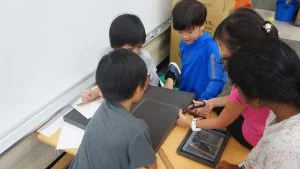
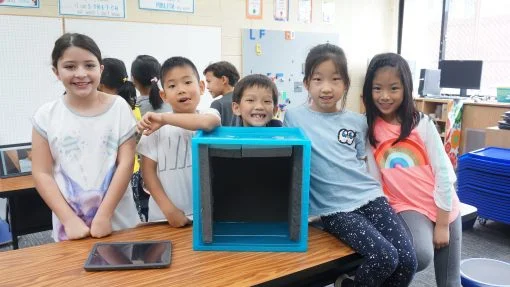
Unfortunately most of these designs were not sturdy enough to last the entire school year, and some were not completely successful just yet. So, in this last session I reiterated what we learned over the past 3 lessons and highlighted how softer materials inside could improve the quality of a recording by creating less echo. This lesson exercised cooperation, practiced non-standard measurement, and problem-solving. Using Book Creator I created an instruction booklet with photos for each group to follow.
Here is the booklet for you to download in both ePub and Pdf:
[wpdm_package id='1593']
[wpdm_package id='1595']
What other problems around the classroom or school could we use to engage our students in Design Thinking?


